Cost Effective Equipment to Boost Your Photography & Things You Should Always Have
If you’re really getting into photography, maybe this is how your story went so far:
You got a DSLR (digital single lens reflex) camera. It’s really nice and you’re falling in love with photography for fun or art and you want to do more! You’re seeing so many pictures of people with similar cameras to you, but they’re doing things you just can’t seem to make your camera do!
Maybe, just maybe, somewhere in this blog post lies the answers to your questions. Maybe it can bring your photography level over 9000!
Screw building up. Let’s start with the fun shit.
Battery Grips
Now that you have your nice camera, you’ve caught the bug. You see people with bigger and better cameras and you’re green with envy. Maybe you walk away so you don’t have to be around people with these monsters of photographic tech.
Fake it!
A battery grip is an AMAZING accessory. It can:
- Double your battery life.
- Give you a portrait-oriented shutter button and shutter speed wheel/subcommand dial.
- Give you a portrait-oriented grip.
- Give you an extra camera strap loop for portrait-oriented hanging.
- Make your camera look 10x more powerful.
Yes, a lot of these are specific to keeping your camera portrait-oriented, but the most important feature is versatile. It doubles your battery life. Yes, DSLR camera batteries last incredibly long and you rarely have to change them, so why is this useful?
Many modern digital cameras have WI-FI or bluetooth built in so you can live-view and control the camera from your smartphone or tablet. It’s a very cool feature not even all the pros have in their cameras…BUT! It drains that battery faster than a starving mosquito. Doubling that battery means you can enjoy those wireless modern features for hours.
You can buy them directly from the same manufacturer as your camera, sure! They’ll be great quality. Or you can buy them from a 3rd party. My camera is a Canon 5D. Obviously I use my camera for professional photography and I make a living from it, so I bought from Canon, right? NOPE! I got my 5D when I was 21-years-old and freshly graduated with my BFA in Digital Photography and I got my battery grip on the same day from a company called Neewer. I usually order my things through Amazon because, well, usually it’s cheaper and directly from the manufacturer anyway.
If you’re just starting out, you probably have a more introductory level camera like a Canon T6i. Amazing quality camera for a lower cost. Perfect for cutting your teeth with the equipment. Here’s what you can get for that camera! And if you have a different model, just go to Amazon and search for “[Your Camera make and model] battery grip” to find one for you! Click the image below to open the Amazon page in a new tab.
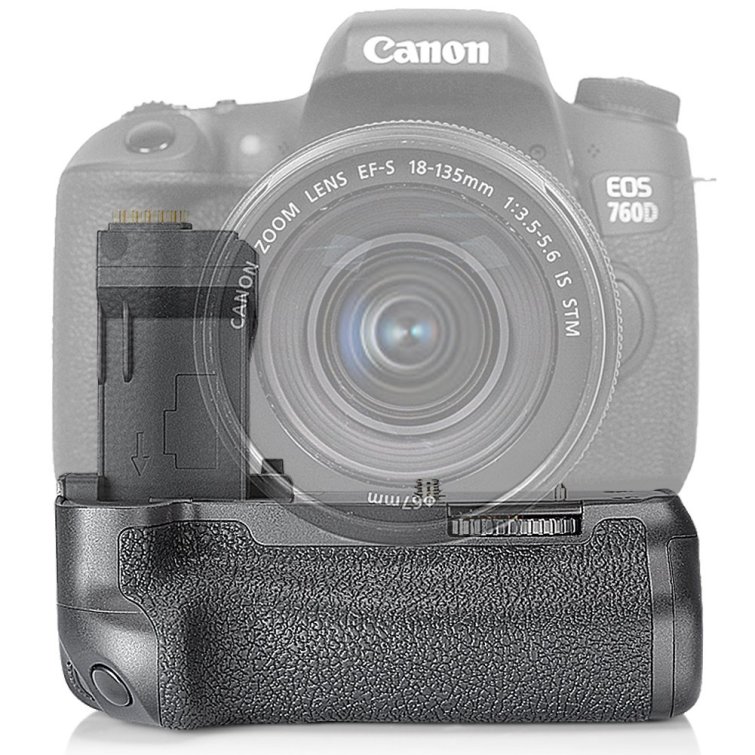
You just have to remove the battery cover hatch, slide the grip in, and screw it to the tripod mount! Don’t worry. Almost all battery grips have another tripod mount on the bottom. That’s a pretty big feature they don’t want to take away from you or you probably won’t buy their product.
Macro Accessories
Can we get this out in the open? Macro photography is just so much fun!
Were you the type of kid who begged your parents for fancy microscopes for your birthday and loved looking at blades of grass or pinheads and stuff? Well I was that kid. Macro photography lets me relive that, but now I can capture what I’m seeing and post it for everyone to see!
Here are a few that I took right after college:


Not usually how one sees blueberries and bees, but it’s fun!
I’ve gotten better macro equipment since then, but you can do this with even the cheapest macro tube!
Oops, I’ve gone too far. There are actually a few different macro accessories you can use without coughing up hundreds of bucks for an actual macro lens.
Macro Tubes
A macro tube is just that: a tube that lets you shoot macro images. It’s what I used for the above images. They sit between the lens and the camera and enlarges the focal point so the actual light falling on the sensor captures just the subject directly in front of the lens. You can’t keep it on your camera all the time, because it moves the max focal length to usually within inches from the lens.
Here’s a really nice macro tube that I use now, though I got mine in blue. The colors on these are purely decorative.
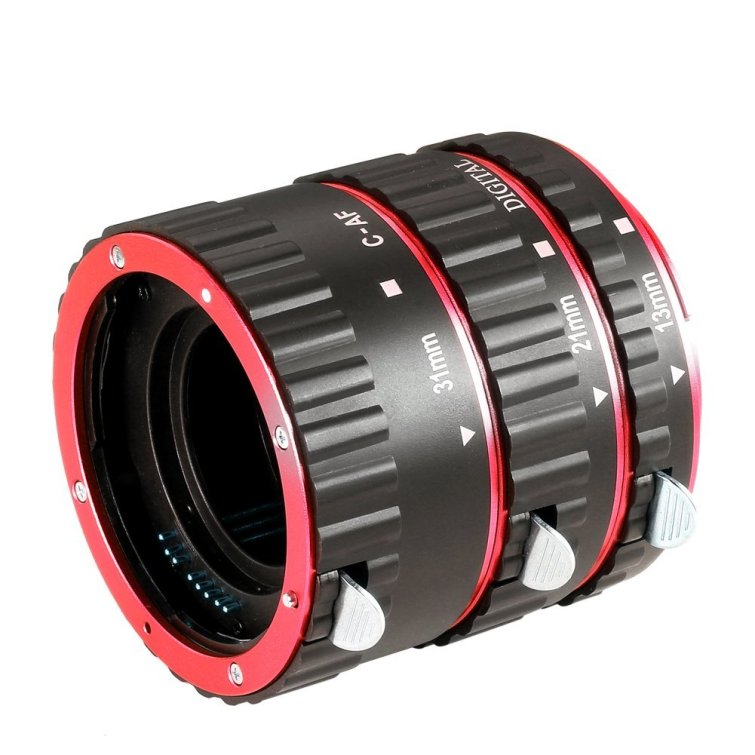
Does it look like you can take it apart? That’s because you can! It’s 3 components that you can use together or separately! Each brings the focal length even closer to the lens! It depends on what lens you have that will determine which rings you use. Just play!
Macro Filters
These are a little more straight forward but less versatile. Like any filter, they screw onto the top of the lens and act like magnifying glasses. You can even stack some, as long as they don’t bulge out, which they will the larger they’re made to magnify.
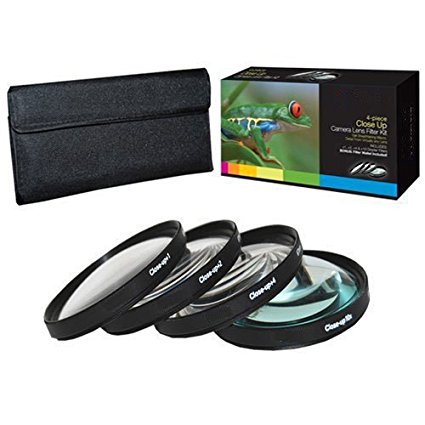
It’s less versatile because they won’t work with every lens. If you have a certain lens and that’s the only one you have or the only one you want to take your macro images with, then you have to make sure you get the filters that fit that lens.
If you’re not sure how to tell what filter size you need for your lens, there’s a really easy trick to help you out! Just pop off the lens cap and look for the Null symbol (∅) followed by a measurement in millimeters. For a 40mm prime lens from Canon, for example, you would see “∅52mm” inside the lens. You’ll actually see it on the lens body itself too, but you won’t with every lens. So the lens cap trick is worth knowing.
For the love of photography just don’t measure with a ruler!
Filter Fun!
Polarizing Filters
There are just so many filters that will be fun for you to use! These can really kick your photography up a notch or 3.
Do you shoot a lot of things that have reflections? Maybe landscapes and you wish the sky was a deeper blue? Nature photography and the streams and water always seem to reflect the sky and look white?
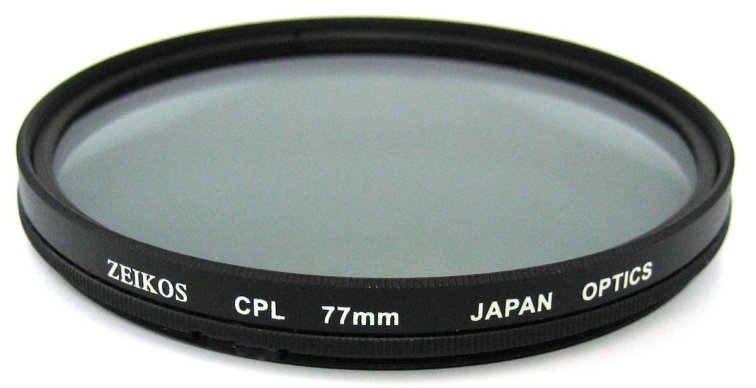
There’s a filter you need in your life, and it’s called a Circular Polarizer.
These filters are very cool. They’re some of my favorites, and one of the most unique filters out there. They actually have a moving part, which sets them apart from other filters. You’ll screw them onto the lens like a normal filter, but then you’ll see the top section of it has an extra sheet of glass that spins. As you rotate this part, you’ll see only certain parts of the image change. Try pointing it at your computer monitor and rotating it. You won’t see anything else in the room change (probably) but your monitor will go from everything being visible to looking like it was turned off! That’s because you can change what wavelengths of light care cancelled out by spinning it!
This filter can:
- Cancel out electronic display light.
- Remove reflections from building glass, brick, water, and anything reflecting light.
- Darken the sky to give you a deeper blue (great for landscape photography!) and make the clouds pop.
You don’t even have to attach the filter to observe these effects. Just hold it in front of your eye and start spinning!
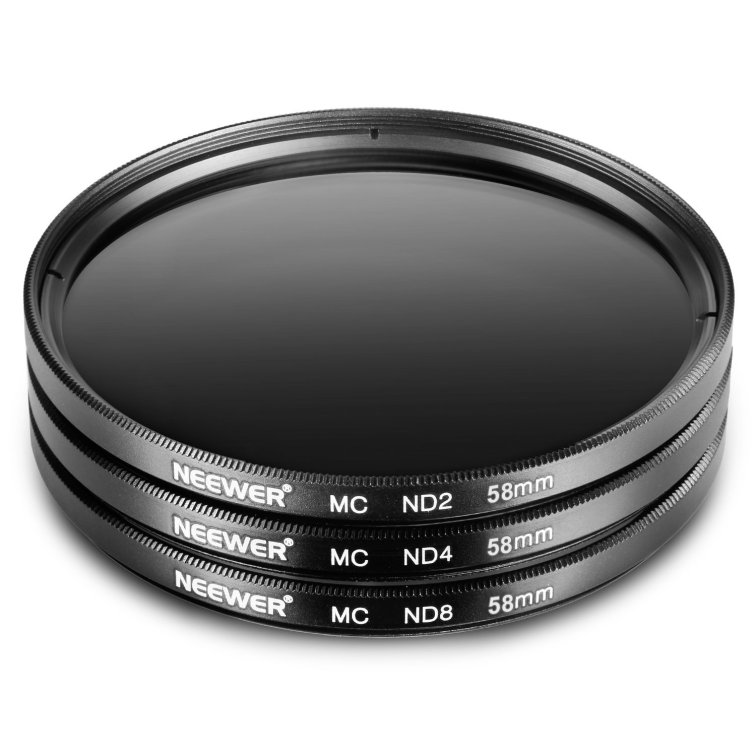
Neutral Density Filters
These filters are pretty straight forward. The name sounds technical, but they’re basically like sunglasses for your camera. Usually too much light isn’t a problem unless there’s a certain look you’re going for. Maybe it’s so bright out and you want a really shallow depth of field but your shutter speed won’t crank up that high to make it dark enough (again, usually, not an issue), or maybe you’re going for some more advanced trick. A slow shutter speed can make moving water look more like smoke. But maybe there’s an area where the light looks AMAZING in the afternoon! With a neutral density filter, you basically shift the overall exposure down without changing your settings, allowing you to use that sweet, sweet slow shutter effect to its highest potential.
Equipment Care Essentials
Look, not everybody likes to take care of their equipment, but unless you want your images looking like total garbage, I highly recommend investing in these items.
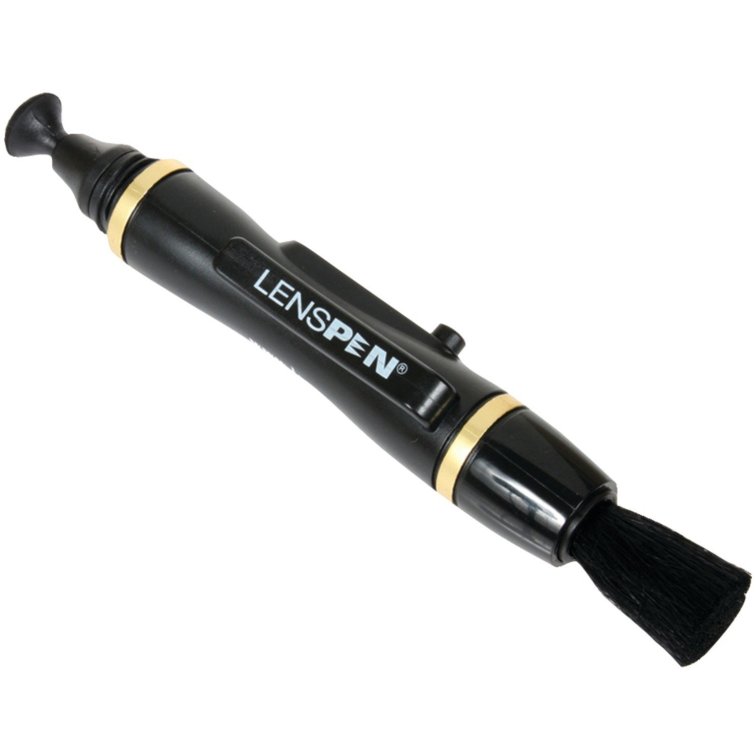
Lens Pen
From how many times I’ve mentioned these little things, you’d think they’re sponsoring me! But they’re not…yet*.
They’re just so useful and portable that you’d have to be stupid not to have some! There is no downside. They have a soft, lens-friendly brush at one end, and a lens-friendly carbon applicator at another end!
For those of you who don’t know, carbon (yes, the stuff inside your office’s industrial size copy machine or printer) is one of the best materials for getting dirt, gunk, grime, and oils off your precious, delicate lenses.
People actually used to use newspaper to clean their mirrors and glass in their homes and it worked really well! Why? Because it’s printed with carbon, not ink like your laser-jet printer. Change the actual paper into a lens-safe applicator and you have a great tool!
For this, I actually do recommend the original Lenspen brand Lenspen. It’s no more expensive than the knock-off brands and they’re the original and do it best.
Lens Cleaning Kit
Sometimes a lenspen can’t get all the stuff off. Just before I wrote this article, I did a deep clean on all my lenses and my camera. Some lenses had something just sticking on the lens.
I use the one Canon sells. It’s pretty inexpensive and will last for years. I like the dropper style cleaning solution rather than a spray for more precision.
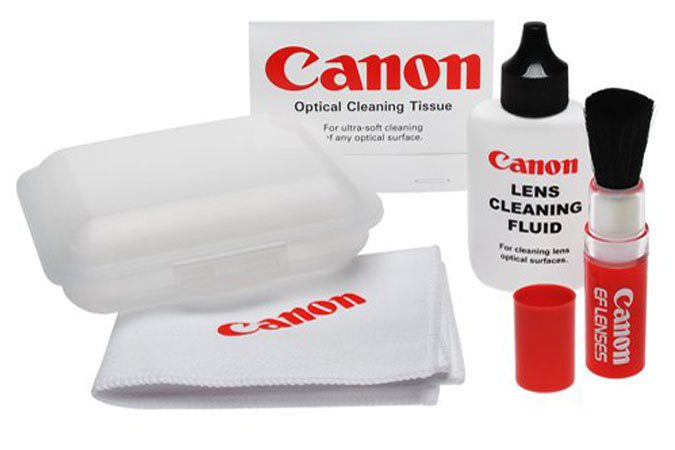
It comes with a microfiber cloth, optical cleaning tissue, cleaning fluid, and a super soft brush! Not to mention the nifty little case to keep it all together!
Strangely I couldn’t find this one on Amazon. But Canon sells this whole thing for under $10. Not a bad buy at all!
*LensPen people, if you’re reading this, I’ll talk sponsorship with you.
Fun Lenses & Accessories!
Professionally speaking, I should hate these. They’re low-quality, cheap, non-professional, and should be shunned. I just can’t help it though, I love these inexpensive lenses! When I have some extra cash and I want to add to my photography inventory, I’ll treat myself. Also my dad makes us (my siblings and I) give him Christmas lists even though we’re all well into adulthood (I’m 26 and the youngest of all 3, the oldest is my brother at 36), and I usually stick one of these lenses on there.
Typically, professional lenses are no less than $500, with some exceptions. These lenses are far, far under that.
Rokinon 8mm Super Fisheye
You’ll be hard pressed to find anything wider than 8mm. There are some 6mm lenses out there, but that’s getting into ridiculous levels.
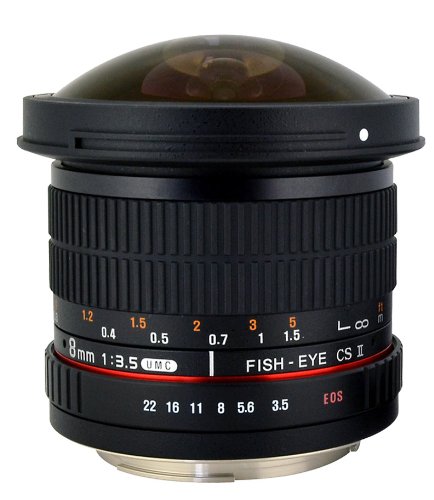
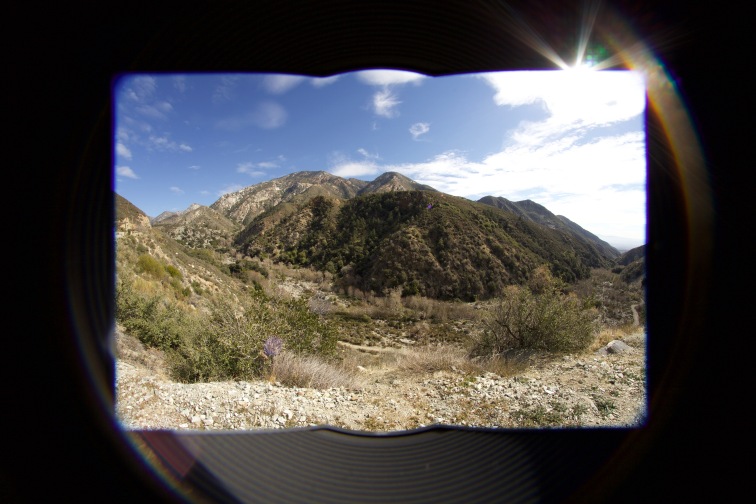
The Rokinon 8mm Fisheye lens is so wide, using it without the lens hood results in a circular-like image inside the rectangular frame. Anything outside that circle is black, because that’s the rest of the camera sensor. What’s showing up in that circle? Thing of it this way, If you can see the lens, you’re in the shot. It’s 180° field of view, so as soon as the glass shows, that’s what it’s shooting. And, of course, it’s compressing that into your rectangular sensor. Rather than try and describe it further, I’ll show you one thing I’ve shot.

I’ve cropped the sides because this was originally a bit wider, but you can see that the lens formed a circle on my sensor. Also I was in a small valley, laying on my back on the ground so get the sky and mountains all around me.
But I did mention it does this when not using the lens hood. With the lens hood, this is the effect you’ll get:
You can crop it down to make it look like a normal photo, but since you can do that without the hood, I like using it off! I rarely use it for professional work except in very rare circumstances.
Here are some important notes about this lens:
- It is a prime lens and cannot zoom.
- It is fully manual and cannot be controlled with any of the cameras functions.
- Being so wide, it’s difficult to focus precisely, but does have a relatively wide DOF.*
- The aperture setting are not controlled by the camera, but by a dial on the lens itself. Meaning your camera will always think it is at f/0.
Opteka 500mm Telephoto
If you’re familiar with focal lengths, you know that 500mm is a crazy ridiculous zoom for most people, and you’re right! 300mm is usually the furthest zoom most people will use in their lives. However, for $90, this low-quality lens can be fun!

Yup, this is actually one of those lenses you have to use the tripod with and let the camera hang off the end. Don’t worry, it comes with the tripod ring! If you’re using a battery grip though, I’d recommend taking that bit off when letting it hang. Don’t want to stress out your lens contacts too much.
I haven’t often needed this lens, but with so many lunar events going on in the last several years, I have wished that I had one of these. Well, I do now, but back in 2014 when that lunar eclipse happened, or when the blood moon came out, or the super moon, I was chomping at the bit for one! But…budget restrictions…
I’m still bitter. But now I’m playing with it! You can get really nice shots of the moon, though you still need to crop in a bit to see the detail, and focusing is definitely a bit more tricky. Here’s the first moon shot I took with it:
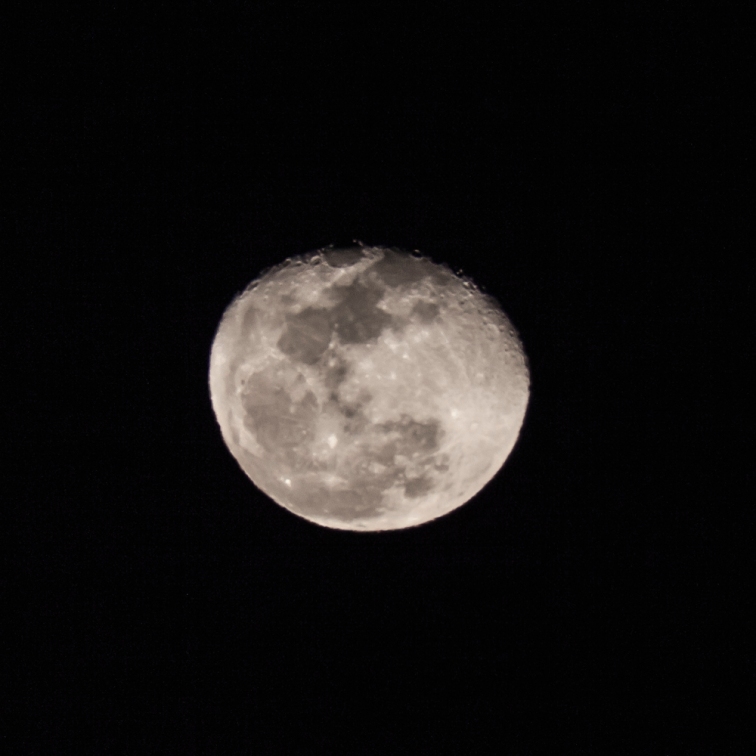
Not the greatest or in the best focus, but it’s always fun to do some lunar photography of our little buddy in the sky.
So here are some notes on the Opteka 500mm:
- Totally manual Lens
- On-camera dial for aperture, so the camera reads it as f/0
- Low contrast and color
- Grainy Images
- Difficult to focus
- It’s a prime lens, which means it has better quality than a comparable zoom lens
But despite that, it’s still a fun lens to have and use from time to time! The price tag makes it very, very attractive to have around.
Teleconverters!
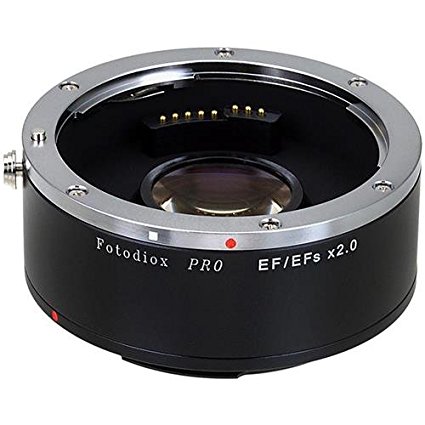
Teleconverters are very similar to macro tubes, except that rather than move the focal length closer to the lens, they move it further away! They come in many different magnification sizes, but 2x is a pretty useful example!
It’s easy enough to use and understand, just attach this to your camera like you’d attach a lens, and then attach your lens to it like it was the camera body. The Fotodiox model above is compatible with Canon EF and EF-S lenses, so it will support your full frame DSLR when you upgrade as well as your current lenses and camera.
Remember:
White Square = EF-S lens
Red Dot = EF Lens
Wide-Angle Converters
These are fun little things! They work like filters, but they’re on a different level. Basically, screw it onto your lens and it becomes wide-angle!
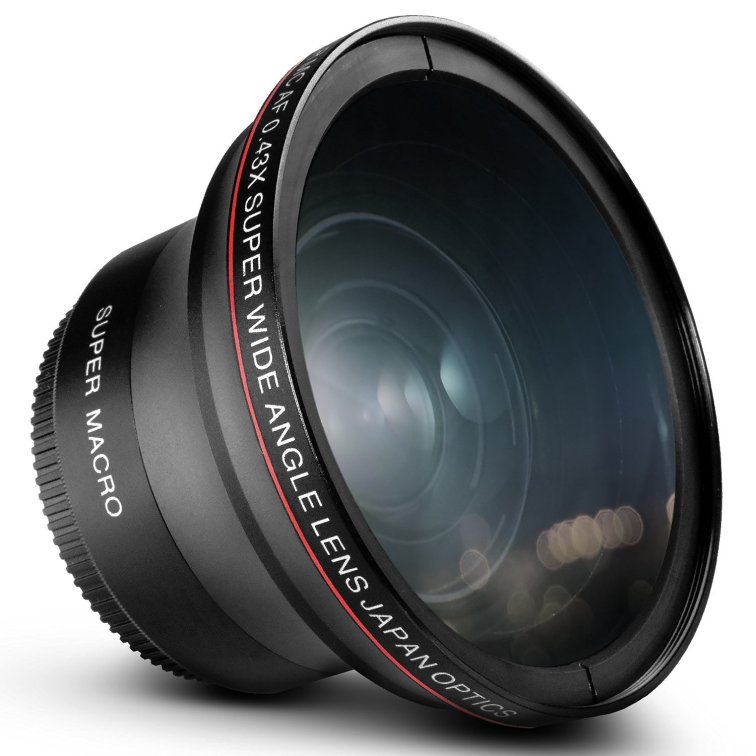
The attachment I put above is for a .43x magnification adaptor. So if you have a 50mm lens and you attach one of these, your lens will act like a 21.5mm lens.
It doesn’t really sacrifice much quality, but it does a little bit. They’re still pretty fun to use!
